15 May Installation Insights: Tips for Using LOXX® Fasteners
Ever wonder why some projects seem a breeze and others feel like you’re wrestling with the very fabric of the universe? Sometimes, the devil truly is in the details—or, in this case, in the fasteners. Today, we dive into the world of LOXX® Fasteners, renowned for their robust performance and versatility. Getting them installed correctly is crucial to tap into their full potential. Buckle up as we unpack the essentials of installing LOXX® Fasteners, ensuring you get it right the first time!
Pre-Installation Checklist
Before you dive in, let’s gear up properly. First, gather all necessary tools—this isn’t a job for that butter knife doubling as a screwdriver! You’ll need specific items depending on the fastener model, but generally, prepare a drill, a measuring tape, and possibly a special LOXX® tool. Next, prep your surface. Whether it’s leather, fabric, or harder materials, ensure it’s clean and mark your fastener spots with precision—measure twice, fasten once! Also, choosing the right LOXX® model is key. Consider your material’s thickness and the stress it will endure to pick a fastener that’s up to the task.
Step-by-Step Installation Guide
Now, let’s get down to business. Follow these steps to secure your LOXX® Fasteners:
- Mark the Spot: Use a chalk or marker to precisely mark where you’ll install the fastener.
- Prep the Hole: Depending on the material, either punch a hole (for softer materials) or drill a small pilot hole (for harder surfaces).
- Insert the Fastener: Place the lower part of the fastener (the screw or bolt part) through the hole from the underside.
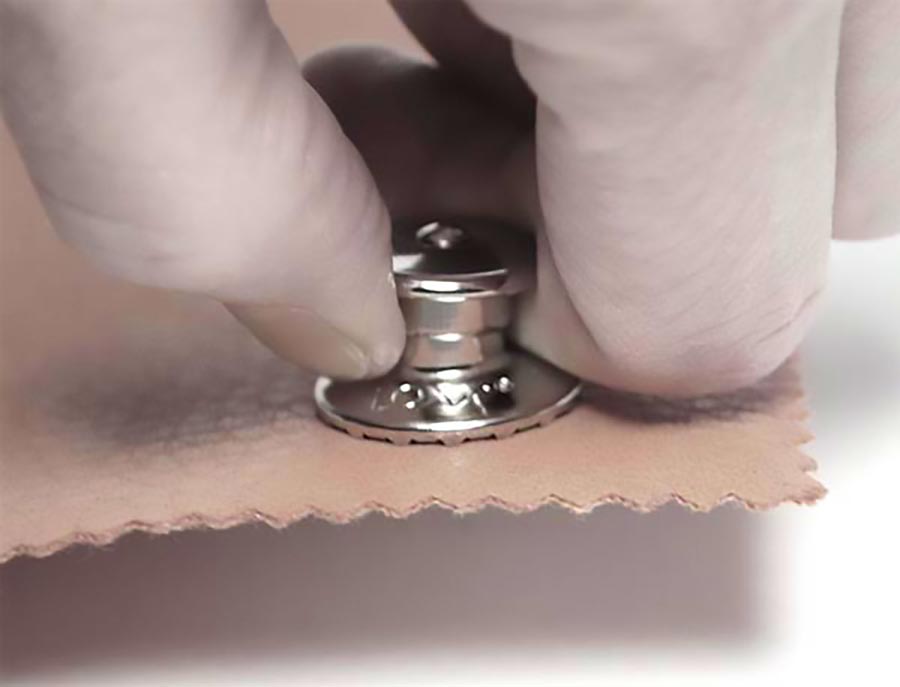
- Secure the Top: Align the top part of the fastener with the bottom and press them together. If necessary, use the LOXX® tool to snap them securely into place.
- Check Alignment: Ensure that the fastener’s top and bottom align perfectly to avoid any operational hiccups.
Visual aids, like step-by-step photos or a short video, can be immensely helpful here, so consider seeking these out for a clearer picture.
Common Installation Mistakes and How to Avoid Them
Mistakes happen, but let’s try to avoid a few common ones:
- Misalignment: This can cause the fastener to fail prematurely. Always double-check alignment before finalizing the installation.
- Overtightening: It’s a fastener, not a vise. Overtightening can strip the threads or damage the material.
- Ignoring Material Thickness: Using a fastener meant for thin materials on something thick can lead to insecure fastening, and vice versa.
Testing and Adjusting After Installation
Once installed, do a quick functionality test. Attach and detach the fastener several times to ensure it clips and unclips smoothly. If it’s stiff or loose, adjust accordingly. Periodic checks are also vital; even the mightiest ships need their bolts tightened now and then.
Maintenance Tips
Keep your LOXX® Fasteners in top shape with these tips:
- Regular Cleaning: Wipe them down with a damp cloth; if they’re exposed to saltwater or harsh environments, consider a rinse with freshwater.
- Check for Wear: Inspect them regularly for signs of wear or corrosion and address any issues promptly to avoid failures.
Troubleshooting
Run into a snag? Here’s how to troubleshoot:
- Stuck Fastener: Apply a penetrating oil and let it sit before attempting to unfasten.
- Loose Fastener: Check if it can be tightened. If not, it may need replacing.
- Corrosion: Clean with a rust remover and consider applying a protective coating.
Conclusion
Proper installation and care of your LOXX® Fasteners can dramatically extend their lifespan and functionality, turning a simple component into a long-term ally in all your projects. Remember, a little attention goes a long way in maintaining the integrity and performance of these handy little heroes.
Got a LOXX® success story or a tip? Share it with us! If you’re looking for more information or need specific advice, don’t hesitate to reach out or visit our website for more guides and tutorials. Your projects deserve the best, and we’re here to help make that happen. Happy fastening!
Sorry, the comment form is closed at this time.